Deployment of the VHDs includes Creating a Managed Disk and Creating a Virtual Machine. The following steps for each process is applicable for all Director Components:
Fabric Server VHD
API Server VHD
LPSM VHD
Log into the Microsoft Azure portal and go to All services.

Microsoft Azure Portal
Search for Disks and select the service.

Navigating to the Disks Section
Click Create.
Adding a New Managed Disk
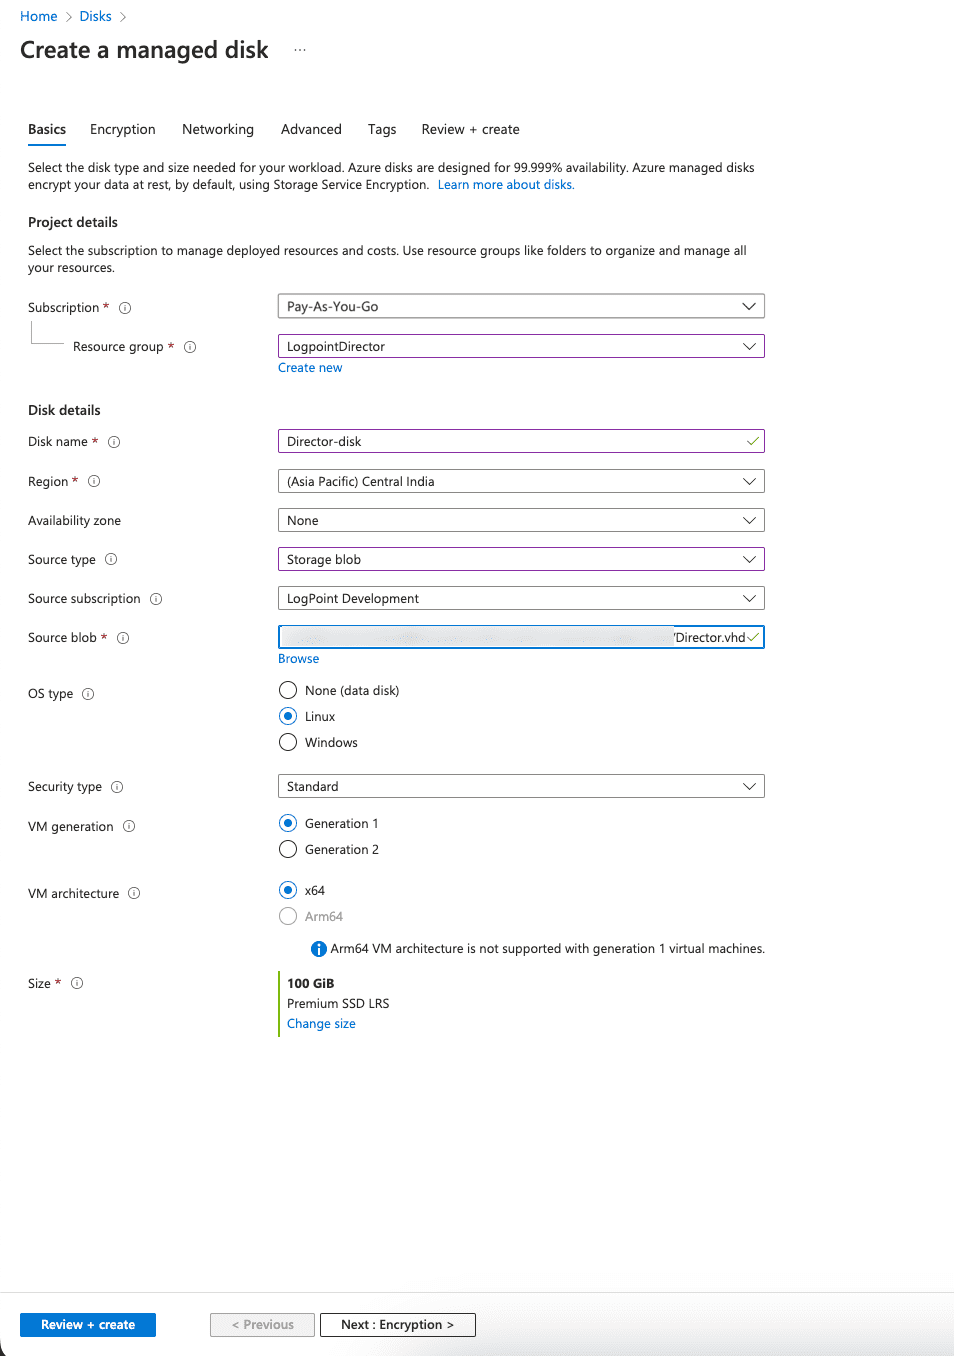
Choose a Subscription method and a Resource Group. You can create a new resource group or select from the existing ones.
Enter a Disk name.
Select the Region to deploy your managed disk.
Choose an Availability zone within the selected region to ensure high-availability of the applications and protect the data and applications from accidental data center failures.
Note
The Availability zone may not be available for all locations.
Choose a Source type for the managed disk. To install the Azure VHD,
Select Storage blob as the source type.
Select a Source subscription method.
In the Source blob option, click Browse to provide the location of the destination container of the previously obtained Azure VHD.
Select the Linux OS.
Select the disk Size in GiB (equal to the size of the source). You need at least 100 GiB for the Fabric Server and API Server VMs and 80 GiB for the Logpoint and LPSM.
Click Next : Encryption >.
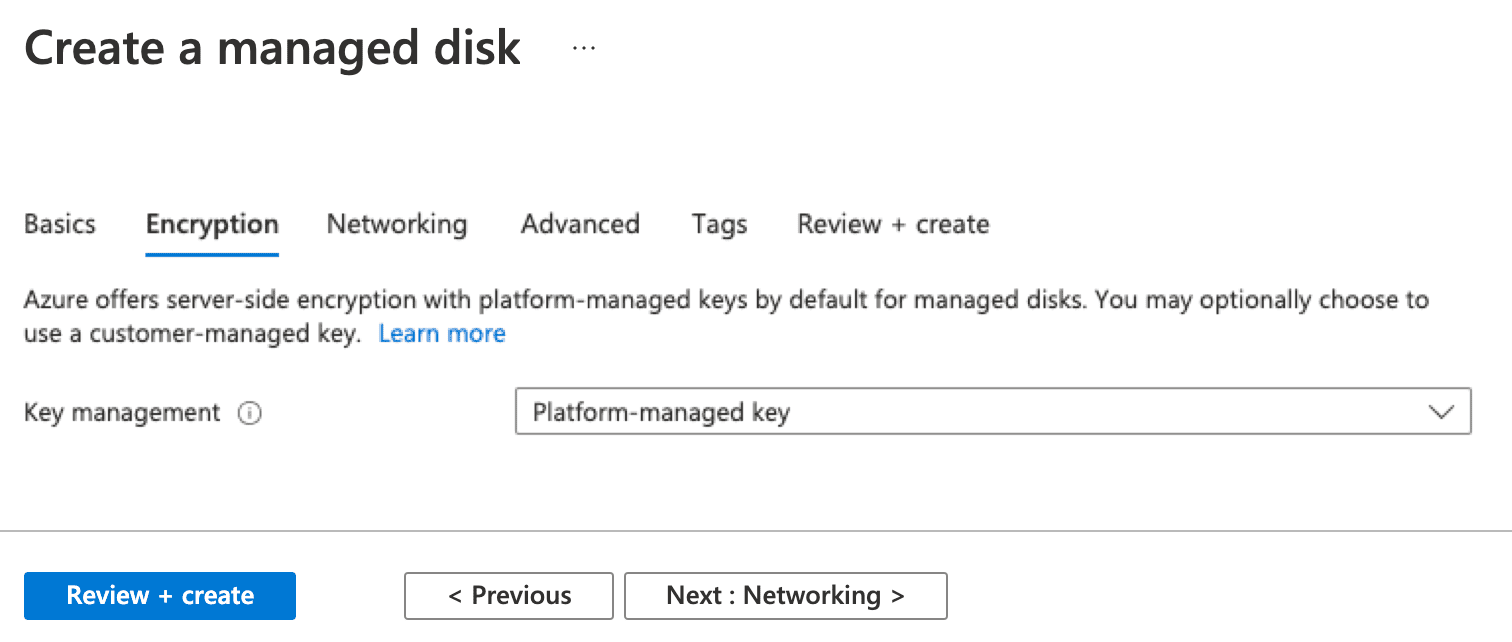
Encryption configuration for Managed Disk
Select an Encryption type and click Next: Networking >.
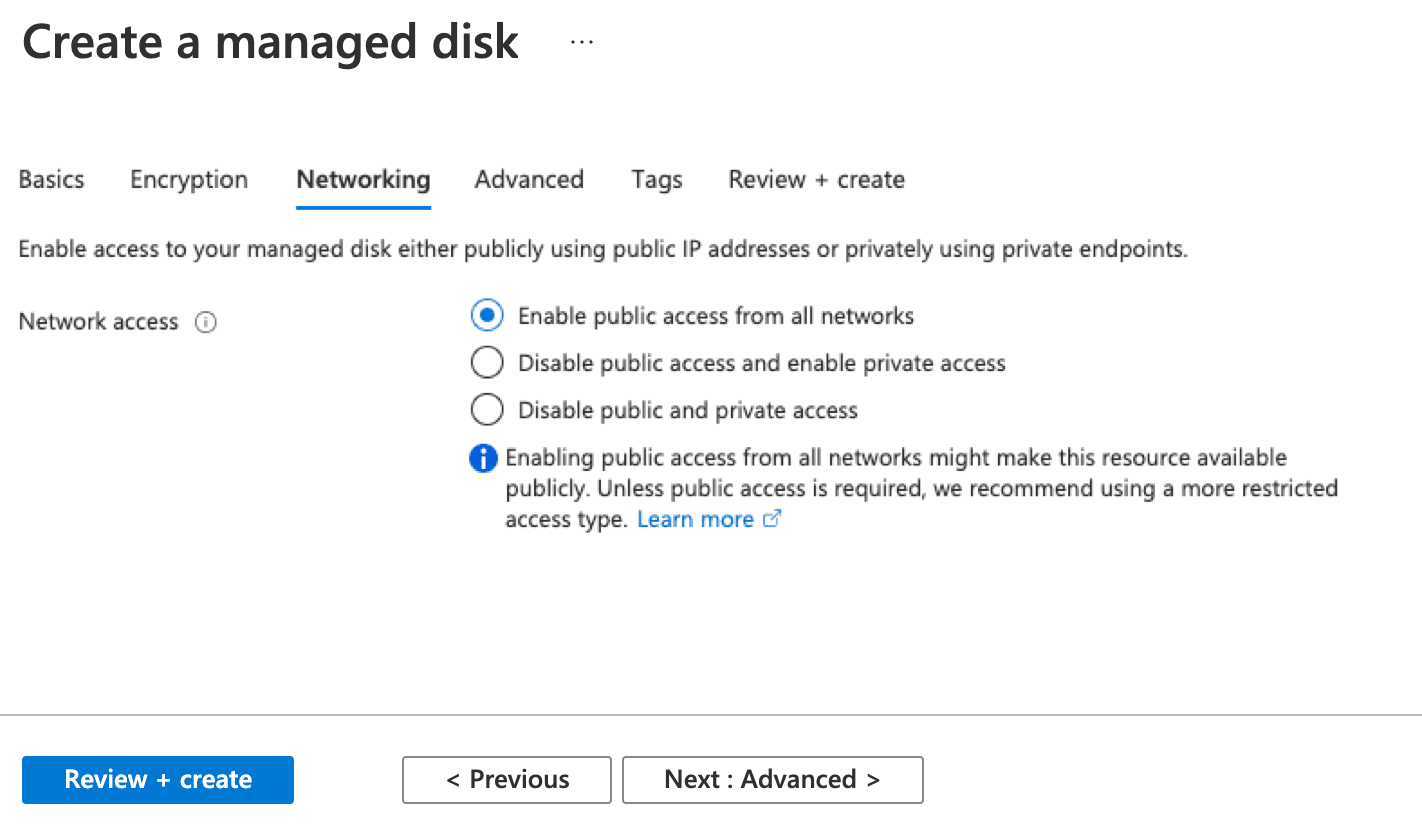
Networking configuration for Managed Disk
Choose a Connectivity method. With the Connectivity method, you can specify whether the managed disk can be accessed publicly, privately, or neither.
Click Next : Advanced >.
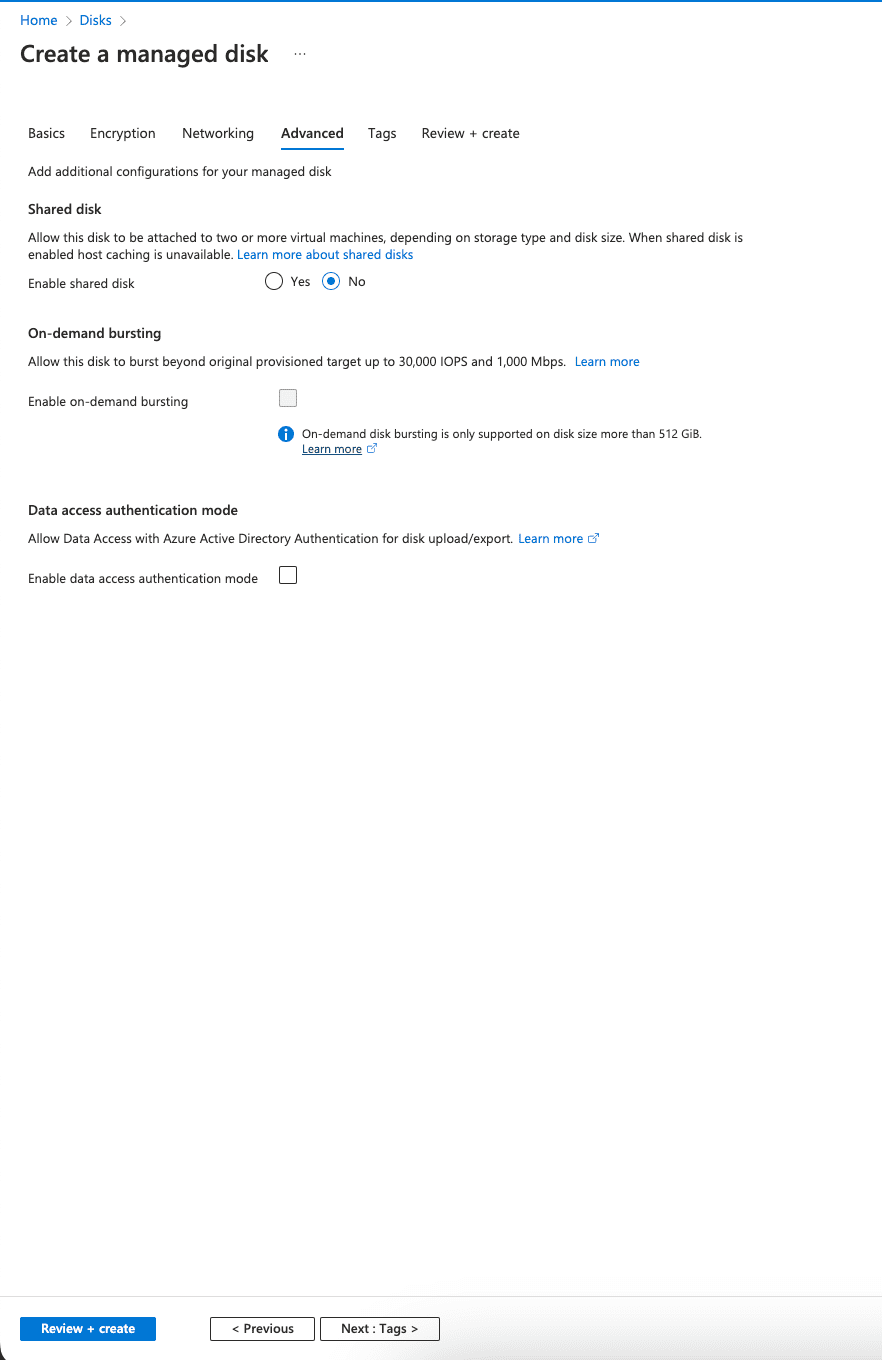
Advanced configuration for Managed Disk
Enable shared disk to allow the managed disk to be attached to two or more virtual machines.
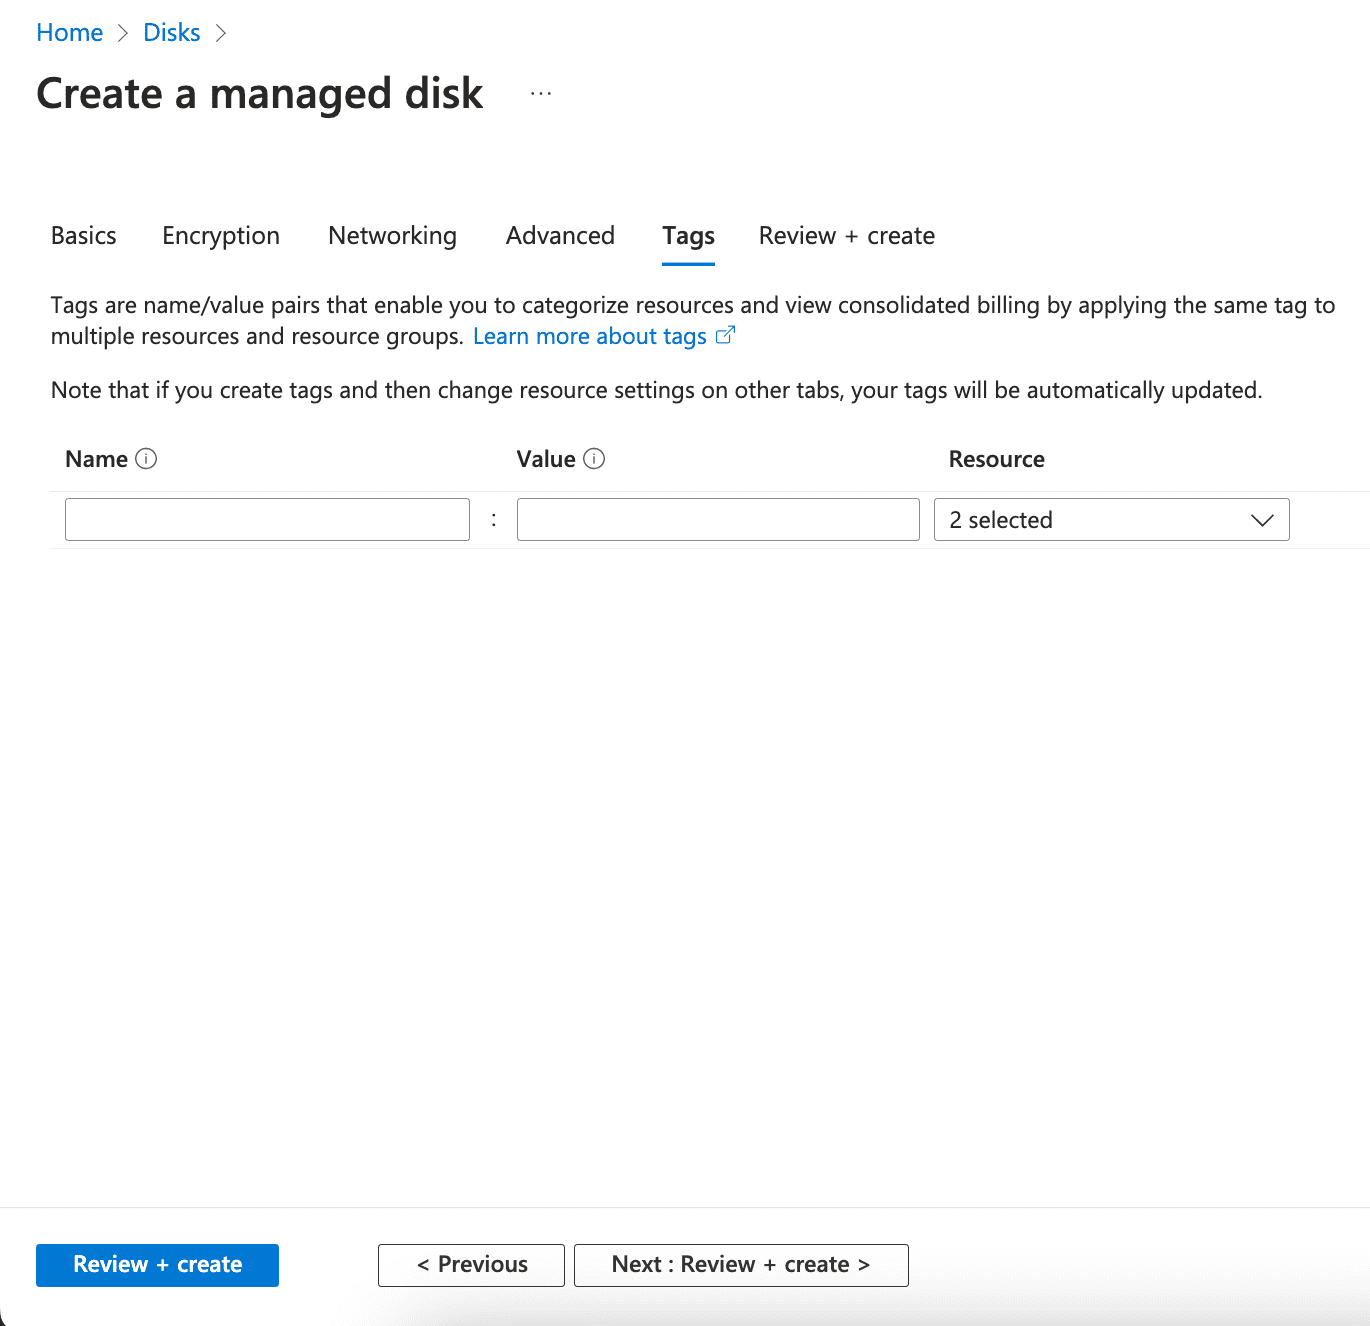
Click Next : Tags >.
Go to All Services >> Disks and select the previously created disk.
Click Create VM.
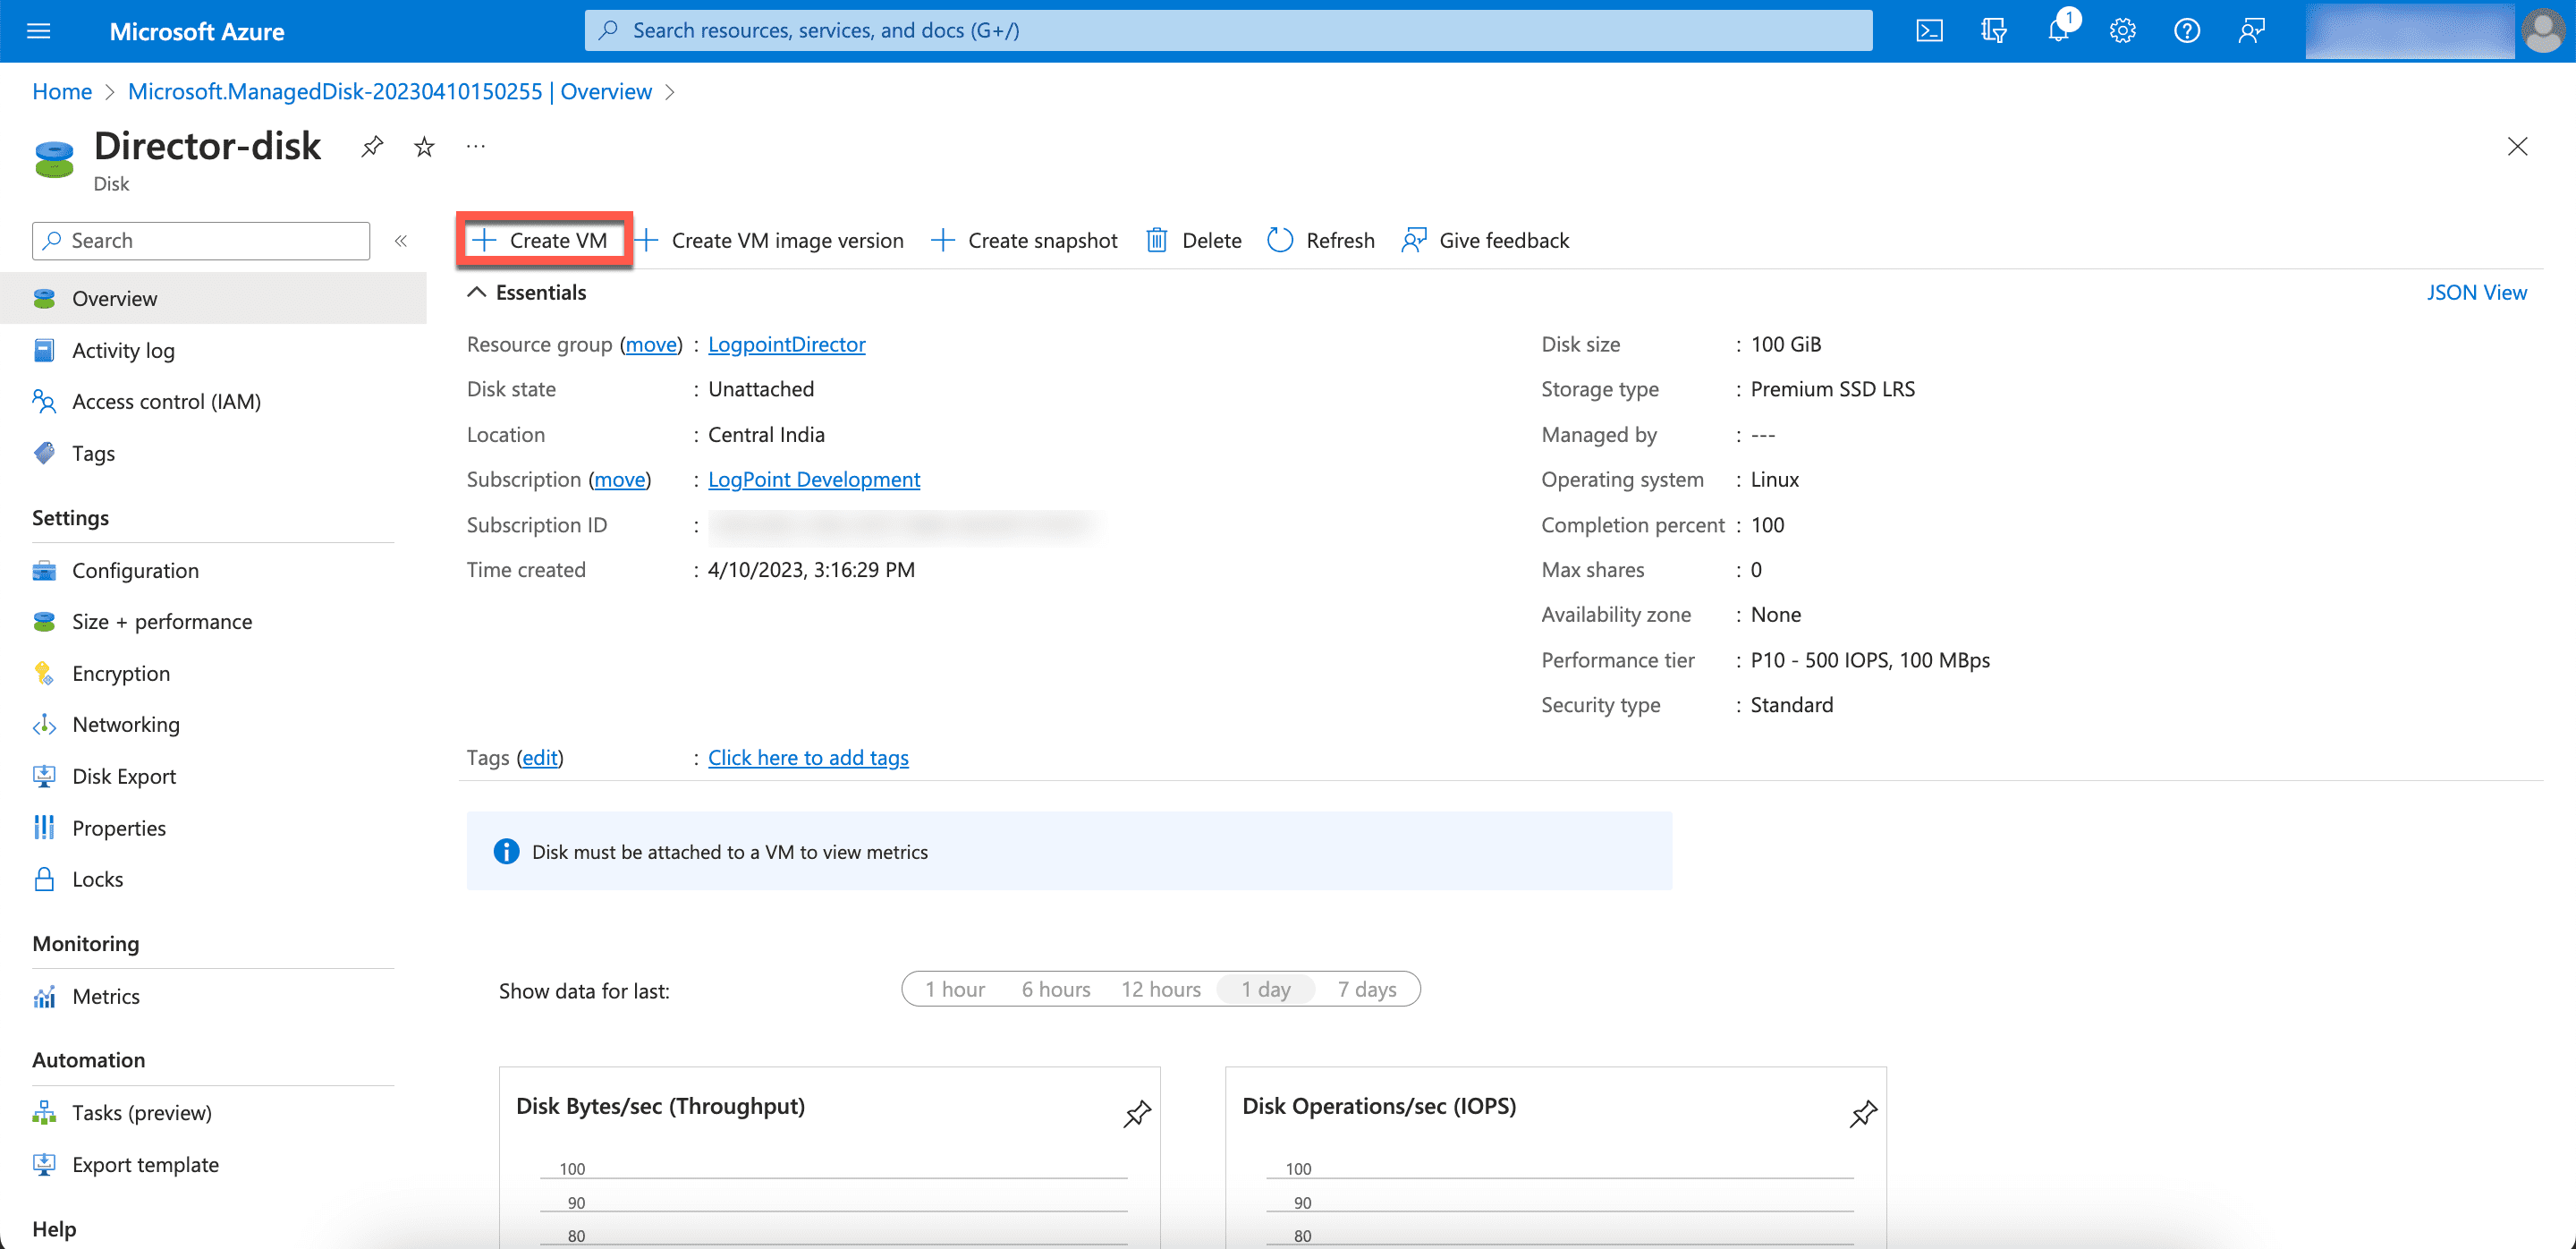
Creating a Virtual Machine
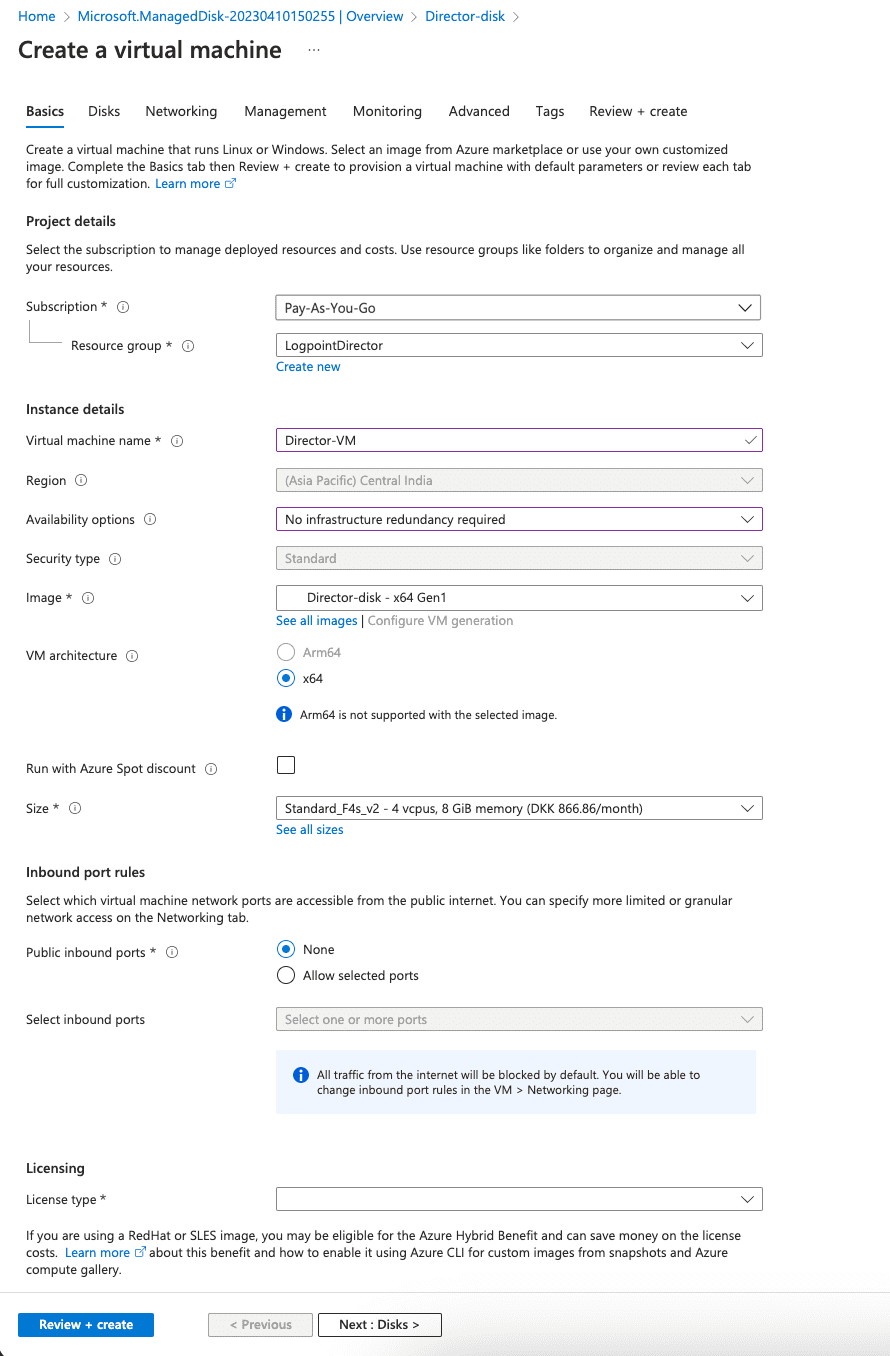
Basic Configuration for Virtual Machine
Select the required Subscription method to manage the deployed resources and costs.
Select a Resource group for the virtual machine. A resource group is a collection of resources that share the same lifecycle, permissions, and policies.
Note
The Subscription and Resource group of a virtual machine (VM) and its managed disk should be the same.
Provide a Virtual machine name. The Region is automatically configured based on the value of its managed disk.
Choose one of the Availability options to manage the availability, recovery, and backup of the virtual machine. It protects your data and applications from data center outages and maintenance events.
You can select Availability zone, Availability set or No infrastructure redundancy required.
If you select Availability zone, provide the Availability zone within the region of the virtual machine.
If you select Availability set, choose an Availability set in the current resource group and location of the virtual machine. You can choose the availability set from the existing list or create a new set.
Note
The availability set of a virtual machine cannot be changed once created.
The Image represents the base application for the virtual machine. In this case, it is the disk containing the VHD.
Choose a VM Size. The minimum recommended specifications are mentioaned below:
Hardware |
CPU |
Memory |
Fabric, API |
Minimum 4 cores |
Minimum 8 GB |
LPSM |
Minimum 2 cores |
Minimum 8 GB |
Select the required network ports accessible from the internet in the Public inbound ports option.
Note
We recommend you to select the None option to maintain high security.
Click Next : Disks >.
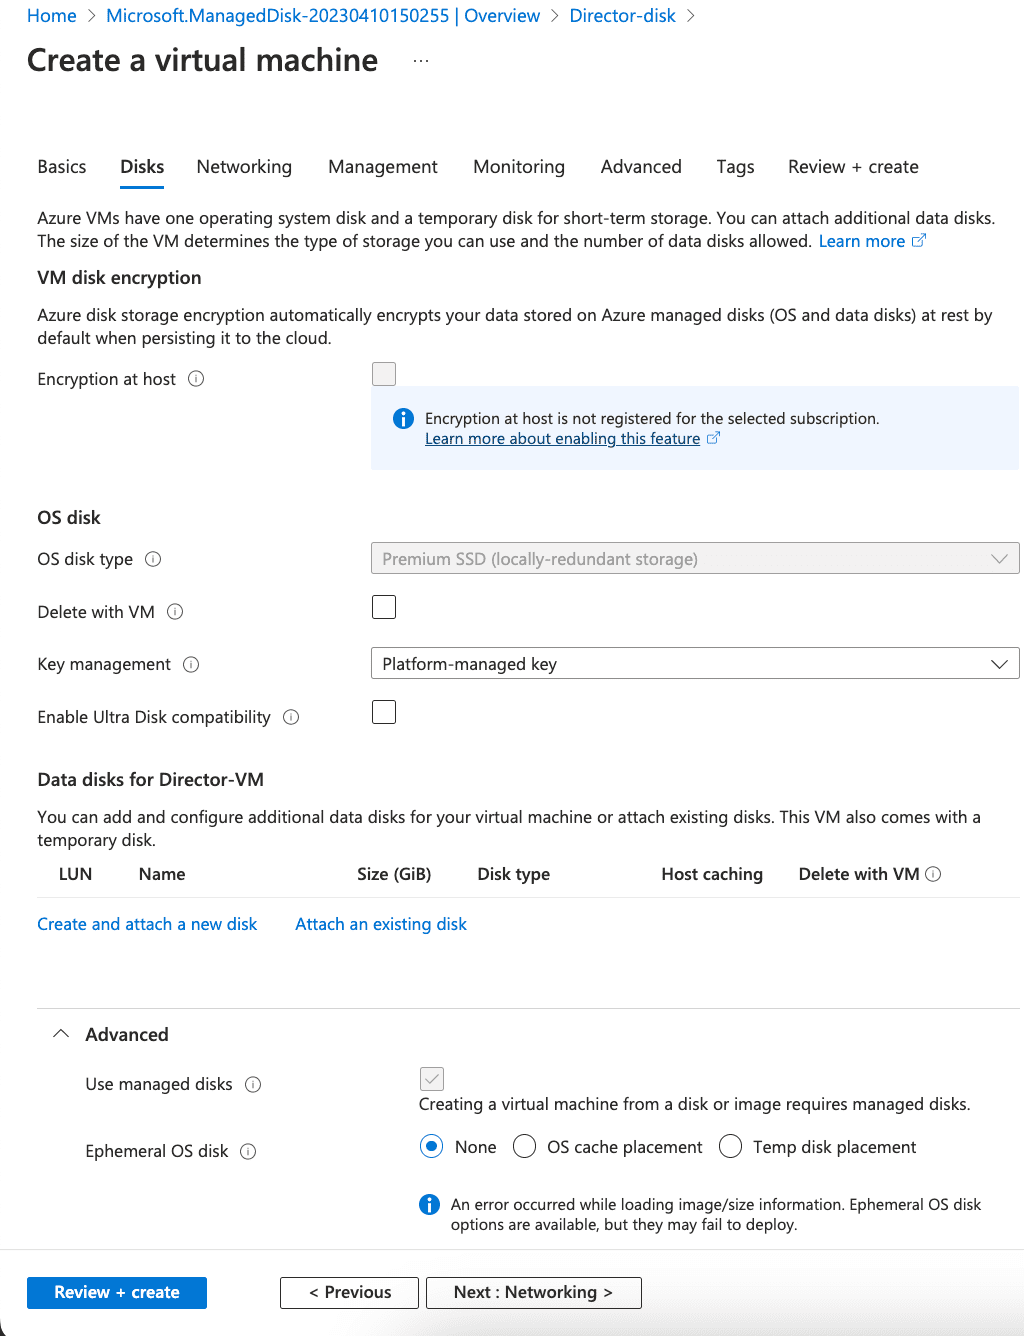
Disk Configuration for Virtual Machine
The OS disk type represents the type of the managed disk associated with the virtual machine. The value is predefined as per the configuration of the managed disk.
Select an Encryption type.
Under the Data Disks section, configure additional data disks for your virtual machine. You can create and attach a new disk or attach an existing disk.
Note
The Use managed disks option under the Advanced section is selected by default when the managed disk is used to launch the virtual machine. You cannot change the configuration.
Click Next: Networking >.
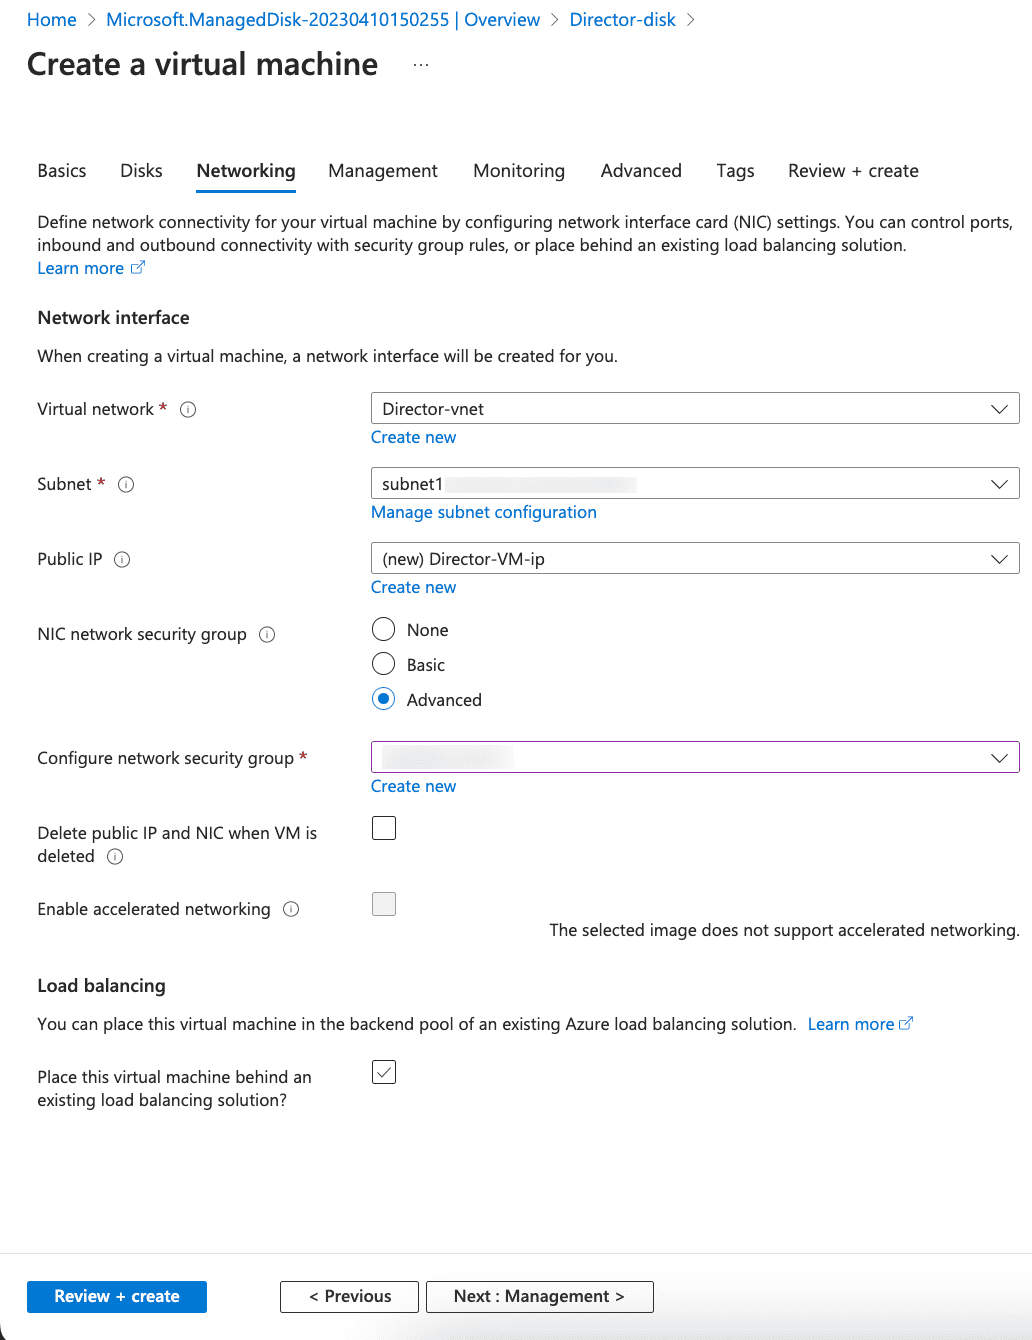
Networking Configuration for Virtual Machine
Select the Virtual network for your virtual machine. Virtual networks create logical isolation in Azure. Each virtual network has their IP addresses range, subnets, route tables, gateways, and security settings.
You can create a new virtual network or select from the existing ones.
Select the Subnet range for your virtual network.
Select the Public IP to access your virtual machine from the internet.
Note
We recommend you to select None to maintain high security.
Select the Advanced option in the NIC network security group. Following inbound port rules and outbound port rules should be enabled for the VHDs:
Inbound port rules:
Inbound Port Rules for a Fabric Server in the Standalone Mode¶ Type
Protocol
Port range
Source (Custom)
Description
All ICMP - IPv4
ICMP
All
Appropriate CIDR blocks, security groups, IP addresses, or prefix lists
Ping the Fabric Server from the specified sources.
Custom TCP
TCP
22
Appropriate CIDR blocks or IP addresses
Connect to the Fabric Server using SSH from the API Server, LPSM, user’s machine, and Logpoint virtual machines.
Custom UDP
UDP
1194
Appropriate CIDR blocks or IP addresses of the API Server, LPSM, and Logpoint virtual machines
Communicate with the Fabric Server.
Inbound Port Rules for Fabric Server Virtual machines in the Cluster Mode¶ Type
Protocol
Port range
Source (Custom)
Description
All ICMP - IPv4
ICMP
All
Appropriate CIDR blocks, security groups, IP addresses, or prefix lists
Ping the Fabric Server from the specified sources.
Custom TCP
TCP
22
Appropriate CIDR blocks or IP addresses
Connect to the Fabric Server using SSH from the API Server, LPSM, user’s machine, and Logpoint virtual machines.
Custom UDP
UDP
1194
Appropriate CIDR blocks or IP addresses of API Server, LPSM, and Logpoint virtual machines
Communicate with the Fabric Server.
Custom TCP
TCP
88, 464, 749, 750, 754, 2181, 2121, 8485, 9000, 10004, 10006, 50020, 50475, 51070, 2888, 3888
Appropriate CIDR blocks or IP addresses
Communicate with the Fabric Server virtual machine from other Fabric Server virtual machines.
Custom UDP
UDP
88, 464, 750
Appropriate CIDR blocks or IP addresses
Establish a connection to the Fabric Server virtual machine from other Fabric Server virtual machines.
Inbound Port Rules for the API Server, LPSM, and Logpoint Virtual machines in the Standalone Mode and the Cluster Mode¶ Type
Protocol
Port range
Source (Custom)
Description
All ICMP - IPv4
ICMP
All
Appropriate CIDR blocks, security groups, IP addresses, or prefix lists
Ping the clients (API Server, LPSM, and Logpoint virtual machines) from the specified sources.
Custom TCP
TCP
22
Appropriate CIDR blocks or IP addresses
Connect to the clients (API Server, LPSM, and Logpoint virtual machines) using SSH from the user machine and the Fabric Server.
Custom TCP
TCP
443
User machines’ IP addresses
Use clients’ (API Server, LPSM, and Logpoint virtual machines) web services.
Outbound port rules:
Outbound Port Rules for a Fabric Server Virtual machine in the Standalone Mode¶ Type
Protocol
Port range
Destination (Custom)
Description
All ICMP - IPv4
ICMP
All
Appropriate CIDR blocks, security groups, IP addresses, or prefix lists
Ping the specified sources from the Fabric Server.
Custom UDP
UDP
123
Appropriate CIDR blocks or IP addresses
Connect to the NTP server.
Custom UDP
UDP
53
Appropriate CIDR blocks or IP addresses
Connect to the DNS server.
Custom UDP
UDP
1193
Logpoint support’s IP address
Connect to Logpoint support.
All traffic
All
All
Appropriate CIDR blocks or IP addresses of clients - API Server, LPSM, and Logpoint virtual machines
Connect to API Server, LPSM, and Logpoint virtual machines.
Outbound Port Rules for Fabric Server Virtual machines in the Cluster Mode¶ Type
Protocol
Port range
Destination (Custom)
Description
All ICMP - IPv4
ICMP
All
Appropriate CIDR blocks, security groups, IP addresses, or prefix lists
Ping the specified sources from the Fabric Server virtual machines.
Custom UDP
UDP
123
Appropriate CIDR blocks or IP addresses
Connect to the NTP server.
Custom UDP
UDP
53
Appropriate CIDR blocks or IP addresses
Connect to the DNS server.
Custom UDP
UDP
1193
Logpoint support’s IP address
Connect to Logpoint support.
All traffic
All
All
Appropriate CIDR blocks or IP addresses of clients - API Server, LPSM, and Logpoint virtual machines
Connect to API Server, LPSM, and Logpoint virtual machines.
Custom TCP
TCP
88, 464, 749, 750, 754, 2181, 2121, 8485, 9000, 10004, 10006, 50020, 50475, 51070, 2888, 3888
Appropriate CIDR blocks or IP addresses
Communicate with other Fabric Server virtual machines.
Custom UDP
UDP
88, 464, 750
Appropriate CIDR blocks or IP addresses
Establish a connection with other Fabric Server virtual machines from this virtual machine.
Outbound Port Rules for the API Server, LPSM, and Logpoint Virtual machines in the Standalone Mode and the Cluster Mode¶ Type
Protocol
Port range
Destination (Custom)
Description
All ICMP - IPv4
ICMP
All
Appropriate CIDR blocks, security groups, IP addresses, or prefix lists
Ping the clients from the specified sources.
Custom UDP
UDP
123
Appropriate CIDR blocks or IP addresses
Connect to the NTP server.
Custom UDP
UDP
53
Appropriate CIDR blocks or IP addresses
Connect to the DNS server.
Custom UDP
UDP
1193
Appropriate CIDR block or IP address of the Fabric Server
Establish a connection to the Fabric Server.
Select the Place this virtual machine behind an existing load balancing solution checkbox to provide an existing Azure load balancing solution to the VM.
Click Next : Management >.
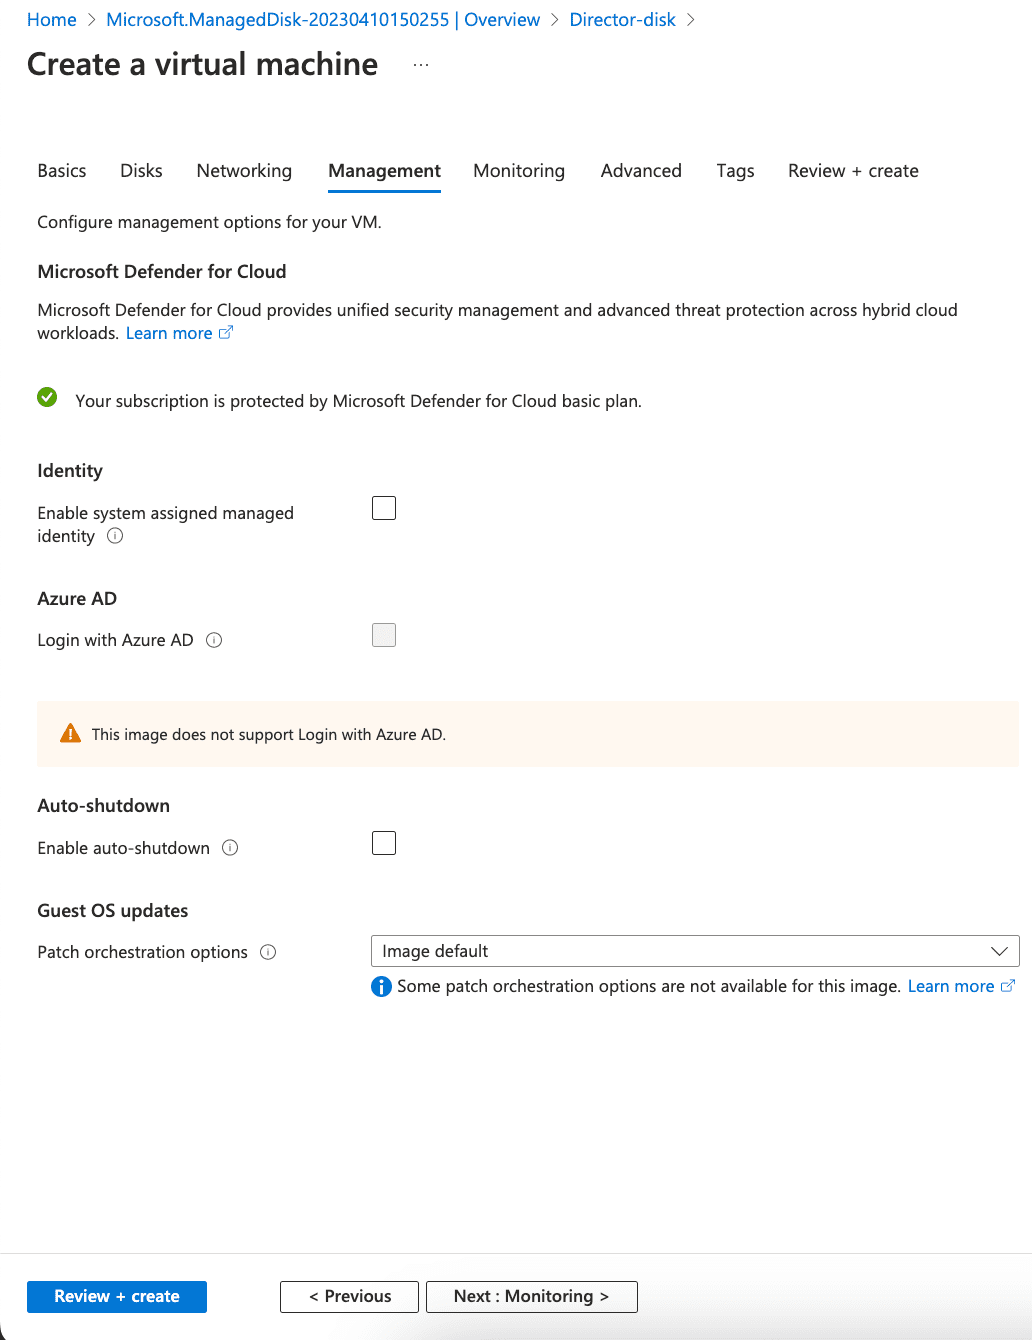
Management Configuration for Virtual machine
Under the Identity section, select the System assigned managed identity option to grant or receive permissions via Azure role-based access control.
Under the Auto-Shutdown section, Enable auto-shutdown to shut down the virtual machines daily automatically.
Click Next : Monitoring>.
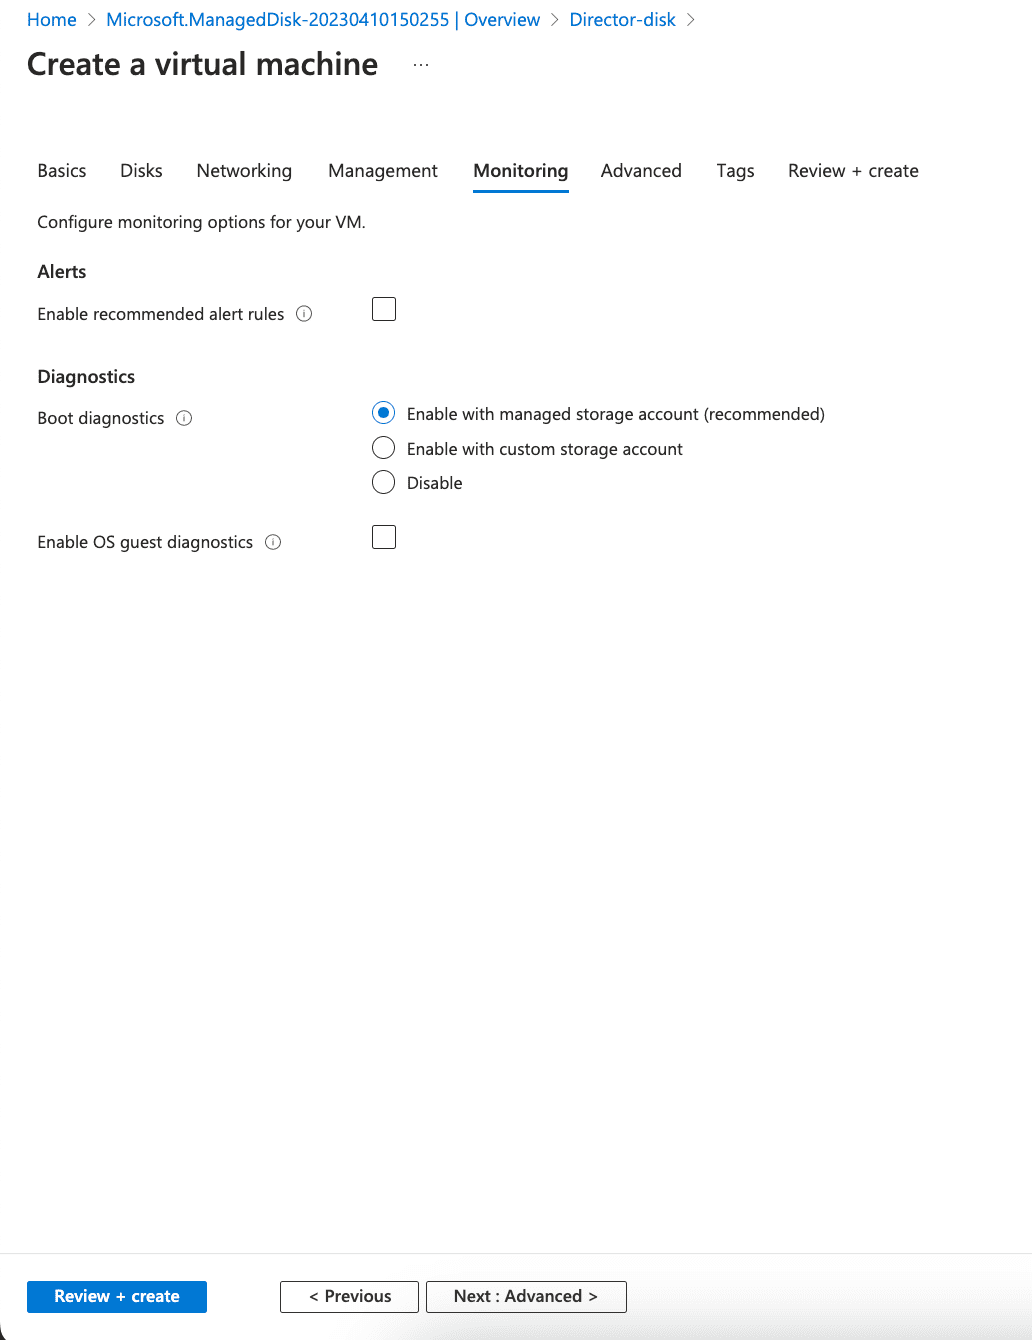
Management Configuration for Virtual machine
Select the Enable recommended alert rules option to enable recommended alert rules.
Enable the Boot diagnostics option to capture serial console output and screenshots of the virtual machine. It helps to diagnose startup issues.
Enable the OS guest diagnostics option to get the metrics of the virtual machine every minute.
Note
If you enable boot diagnostics with a custom storage account, choose a Diagnostics storage account to store the metrics data.
Click Next : Advanced>.

Advanced Configuration for Virtual Machine
Select the Extensions for the resources if needed.
Note
Since all the required configurations to run Director components are already available, you don’t need to add any extensions.
From the Custom data section, you can pass a script, configuration file, or other data into the VM while it is being provisioned.
Enable User data to pass a script, configuration file, or other data into the VM that will be accessible to the applications throughout the lifetime of the VM.
Select a desired Host group or a Proximity placement group if you want to group your VMs.
Click Next : Tags>.